Okay, so you wanna build your own solar panel? That's... ambitious! I like your style. Are you trying to become a DIY solar guru? Or just saving the planet one silicon wafer at a time? Either way, let's talk about it.
First things first: this isn't exactly plug-and-play Lego. It's more like advanced Lego mixed with a pinch of electrical engineering and a dash of hoping-you-don't-accidentally-fry-yourself. Safety first, people! Always disconnect power sources when you're messing with electrical components.
What You'll Need (The Treasure Hunt Begins!)
Alright, let's gather our ingredients... I mean, components. Think of this as a really geeky shopping list:
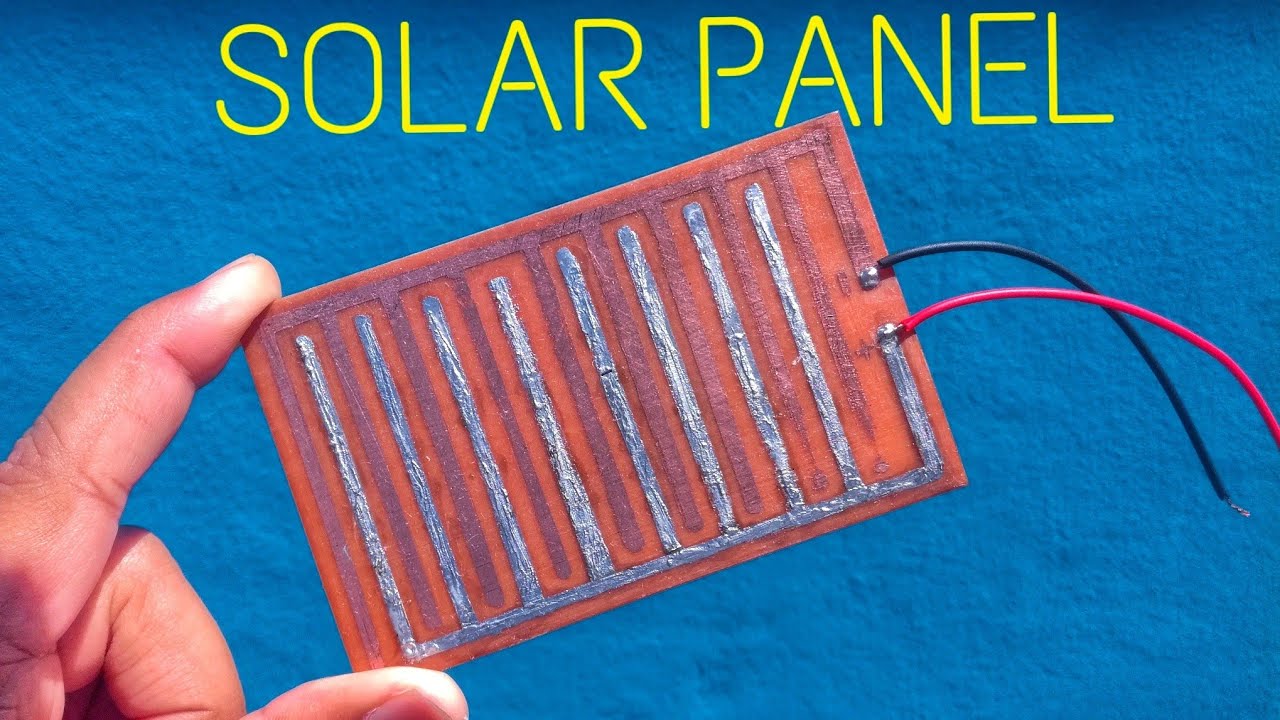
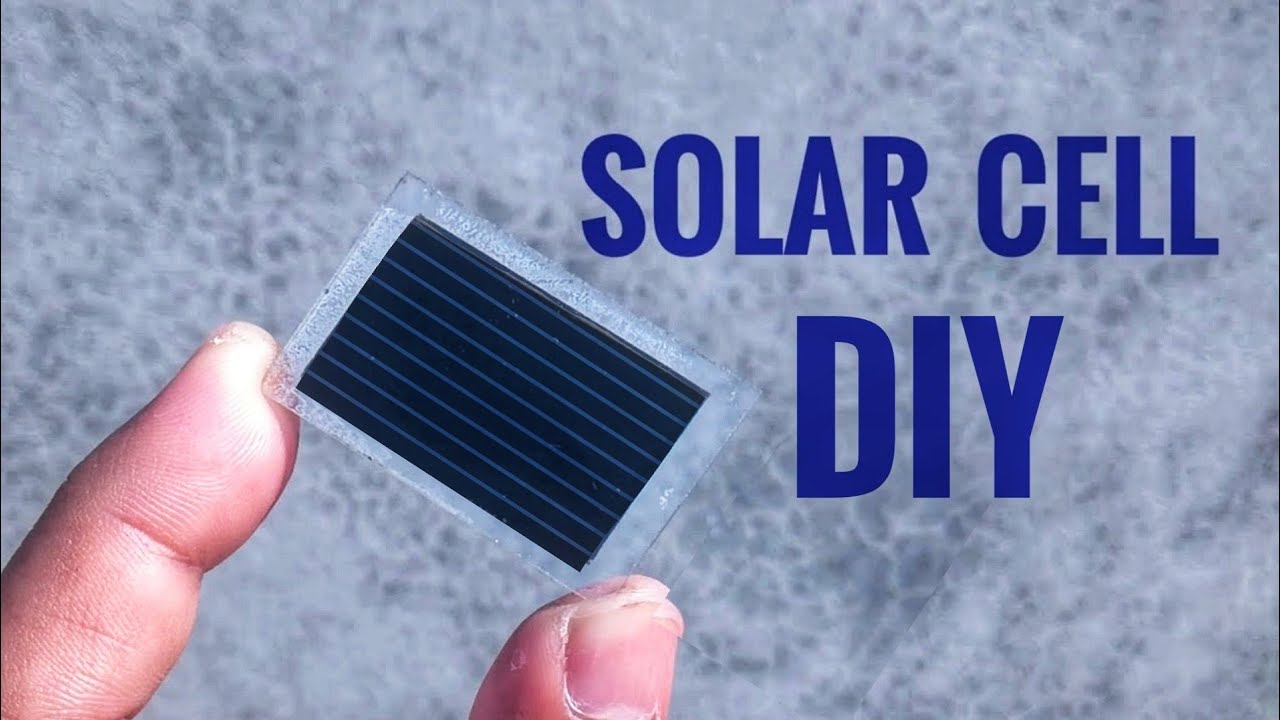
- Solar Cells: These are the heart of your panel. You can buy them online. Polycrystalline are cheaper, monocrystalline are more efficient (and pricier!). How many you need depends on your desired wattage, which we'll get to later.
- Flux Pen: This helps the solder stick to the cells. Trust me, you want this.
- Soldering Iron and Solder: Obvious, right? Get a decent soldering iron – cheap ones can be frustrating.
- Tabbing Wire: This connects the cells together. It's thin, tinned copper wire.
- Bus Wire: Thicker wire for connecting the strings of cells and to the junction box.
- Encapsulant: EVA (Ethylene-Vinyl Acetate) film is the standard. It protects the cells and bonds everything together. You'll need two sheets, one for the front and one for the back.
- Backsheet: This goes on the back of the panel for weather protection.
- Tempered Glass: This is the front of the panel. It protects the cells from the elements (hail, bird droppings, curious squirrels...). Make sure it’s the right size!
- Junction Box: This is where you connect the panel to your electrical system.
- Multimeter: To test your connections and voltage! Is it working? This will tell you.
- Frame (Optional): Gives your panel a professional look and adds durability.
Phew! That's a lot of stuff, isn't it? Don’t be scared off! Think of it as an investment in your own personal power plant.
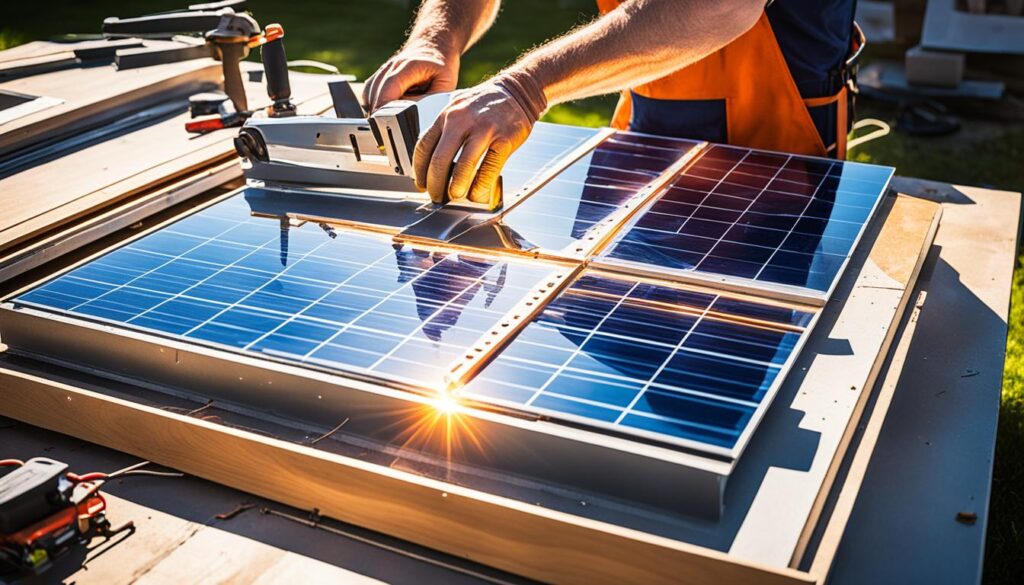
Let's Get Building (The Fun Part!)
Okay, time to assemble your mini-powerhouse. This is where things get a little fiddly.
- Stringing the Cells: This is the most time-consuming part. Using the flux pen, apply flux to the soldering points on each cell. Then, solder the tabbing wire to the front of one cell and the back of the next. Repeat until you have a "string" of cells. Take your time! A steady hand is key.
- Connecting the Strings: Now, connect the strings together using the bus wire. Solder the bus wire to the tabbing wire on each string. This creates parallel circuits to increase the current.
- Laying it Out: Place the tempered glass down, then a sheet of EVA film, then your interconnected cells, then another sheet of EVA film, and finally the backsheet. Like a solar sandwich!
- Laminating (The Tricky Part!): This part usually requires a special solar panel laminator. It heats and compresses the layers, melting the EVA and bonding everything together. Without a laminator, your panel will be significantly less effective and durable. You *could* try using a vacuum bagging system and an oven, but that's... an adventure for another day and requires lots of research. Seriously.
- Adding the Junction Box: Solder the bus wires to the appropriate terminals in the junction box.
- Framing (Optional): If you have a frame, attach it to the panel.
Now, take a deep breath. You've (almost) built a solar panel!
Testing and Triumphant Screams (Hopefully!)
Time to test your creation! Use your multimeter to check the voltage and current output. Point it towards the sun! Is it generating power? If so, celebrate! You've done it! If not, don't despair. Double-check your connections. A single bad solder joint can ruin the whole thing. Is it outputting the right voltage? If you designed for 12V, you need to be close to that voltage at its optimum point.
Disclaimer: This is a simplified overview. There are many nuances and complexities to building a solar panel properly. Do your research! Watch videos! Ask questions! And always be careful when working with electricity. This DIY project could be a real journey. Don't say I didn't warn you!
Now go forth and harness the sun! You glorious, slightly mad, energy-independent individual, you!