Hey there, party animal! Ever stare at a tablecloth and a banner, feeling utterly bamboozled? Don't sweat it. You're not alone. Attaching a banner to a tablecloth might seem simple, but trust me, things can get hilariously sideways fast. Think crooked banners, ripped fabric, and existential dread. But fear not! We're here to make sure your display looks fab, not drab.
Why Bother with a Banner, Anyway?
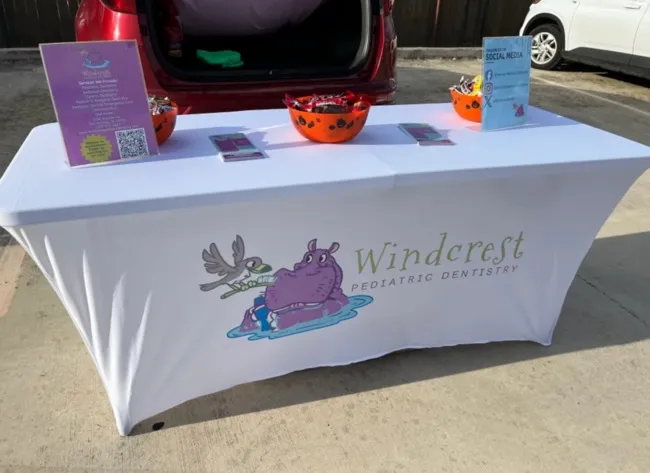
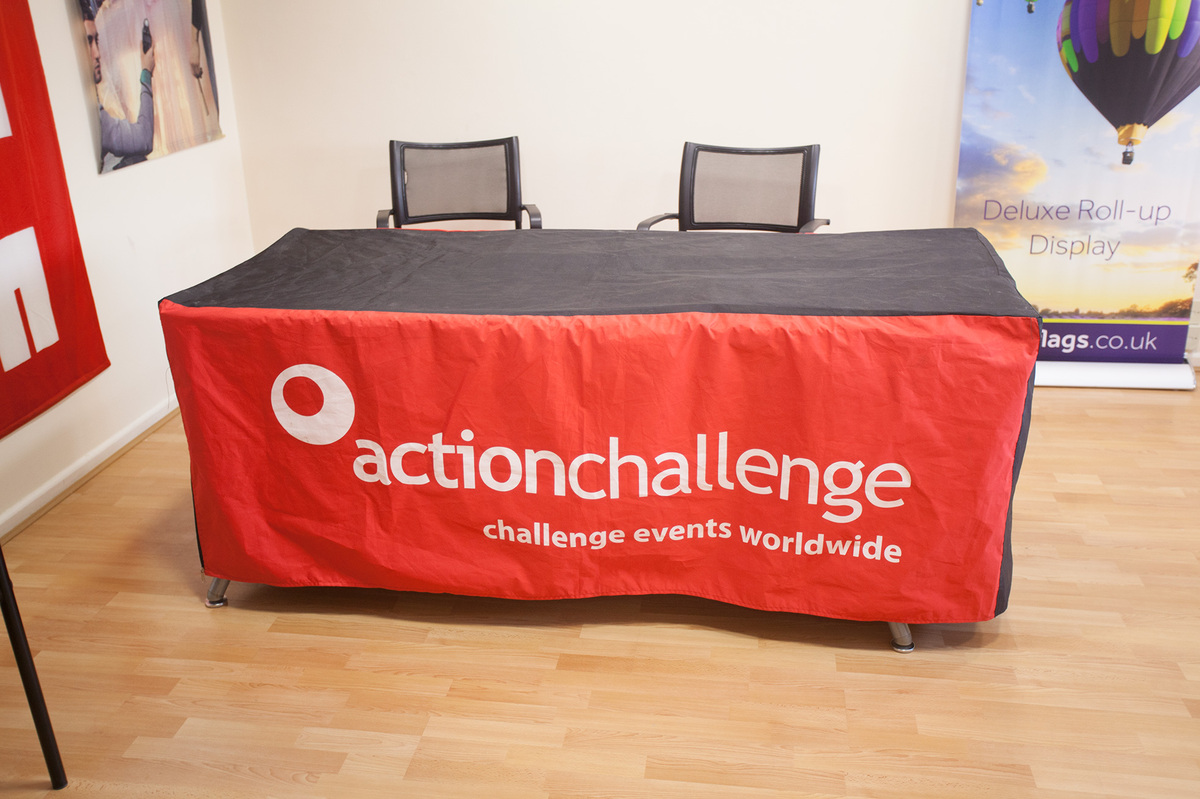
Let's be real. A tablecloth alone is, well, just a tablecloth. Snore. A banner? Now we're talking! It shouts, it proclaims, it basically yells, "Hey, look at me!" It’s marketing gold. Think farmer's markets, craft fairs, bake sales... the banner is your silent (or not-so-silent, depending on the design) salesperson.
Plus, who doesn't love a little DIY pizzazz? It shows you care. That you put in the effort. That you're not just phoning it in with a sad, lonely tablecloth. And let's be honest, it's kinda fun. Like a crafting adventure, but with higher stakes (think hungry customers instead of judgmental kindergarten teachers).
The Tools of the Trade: Get Your Gear On!
Okay, gather 'round! Here's what you'll need for this epic banner-tablecloth conquest:
- The Banner: Obviously! Make sure it's the right size for your table. A banner trailing on the floor? Not a good look.
- The Tablecloth: Choose wisely, my friend. A flimsy tablecloth will buckle under the weight of a banner. Think sturdy and reliable.
- Attachment Options (Dun dun DUUUUN): This is where the magic happens. We're talking:
- Safety Pins: The OG. The reliable friend. But proceed with caution. They can leave holes.
- Clips: Like miniature clothes pegs. Adorable and surprisingly effective.
- Hook and Loop (Velcro) Strips: The fancy option. Secure and reusable. Feel like a professional!
- Double-Sided Tape: A risky gamble. Can be great, can be a sticky disaster. Use with caution on delicate fabrics.
- Scissors (Maybe): For trimming excess material. Safety first, kids!
- A Measuring Tape (Optional): For the truly meticulous. I salute you.
Pro-Tip: Always test your chosen attachment method on a hidden part of the tablecloth first. You don't want any nasty surprises!
The Attaching Adventure: Let's Get This Party Started!
Alright, deep breaths. We're about to embark on the banner-tablecloth journey. Here's the lowdown:
- Lay the Foundation: Spread your tablecloth on the table. Make sure it's wrinkle-free. A wrinkly tablecloth is a sad tablecloth.
- Position the Banner: Decide where you want the banner to go. Center it? Off to the side? Get creative!
- Choose Your Weapon (Attachment Method, that is): Based on your materials and bravery level.
- Attach, Attach, Attach! This is where the precision comes in. Keep the banner taut and straight. No one likes a saggy banner.
- Step Back and Admire: Bask in the glory of your handiwork. You did it!
Safety Pins: The Classic (But Slightly Risky) Choice
Ah, safety pins. The old faithful. They’re cheap, readily available, and generally get the job done. But here's the truth: they can be a bit… treacherous. They can snag your tablecloth, create unsightly holes, and even poke unsuspecting fingers. Ouch!
How to use them (safely): Space the pins evenly. Aim for the hem or thicker parts of the tablecloth. Be gentle! Don't force them. And for the love of all that is holy, close them properly. No one wants a rogue safety pin incident.
Clips: Cute, Functional, and Less Hole-y
Clips are like the safety pin's cooler, less stabby cousin. They're adorable, come in all sorts of colors, and grip the fabric without creating permanent damage. Plus, they’re reusable! Environmentally friendly *and* stylish.
Why they’re great: They distribute the weight evenly, reducing the risk of sagging. They're also super easy to adjust. Banner slightly crooked? No problem! Just unclip and reposition.
Hook and Loop (Velcro): The Professional's Secret
Want to feel like a total pro? Enter hook and loop. These little strips of magic are incredibly strong and provide a secure hold. Plus, they're reusable! Apply one side to the banner and the other to the tablecloth. Boom! Instant attachment. You'll feel like you just completed a secret agent mission.
The downside: It requires a bit more preparation. You need to measure, cut, and apply the strips. But the results are worth it. A perfectly attached banner that looks like it was always meant to be there. *Chef's kiss*
Double-Sided Tape: Tread Carefully!
Double-sided tape is like that friend who's always up for anything… until things go horribly wrong. It can be a quick and easy solution, but it can also leave behind sticky residue or even damage delicate fabrics. Use with extreme caution!
If you dare to use it: Test it on a hidden area first. Use a high-quality tape that's designed for fabric. And pray. Seriously. Good luck.
The Final Flourish: Making it Perfect
Okay, you've attached the banner. But we're not done yet! Time for the finishing touches. Step back and assess. Is it straight? Is it taut? Are there any rogue wrinkles? Tweak as needed.
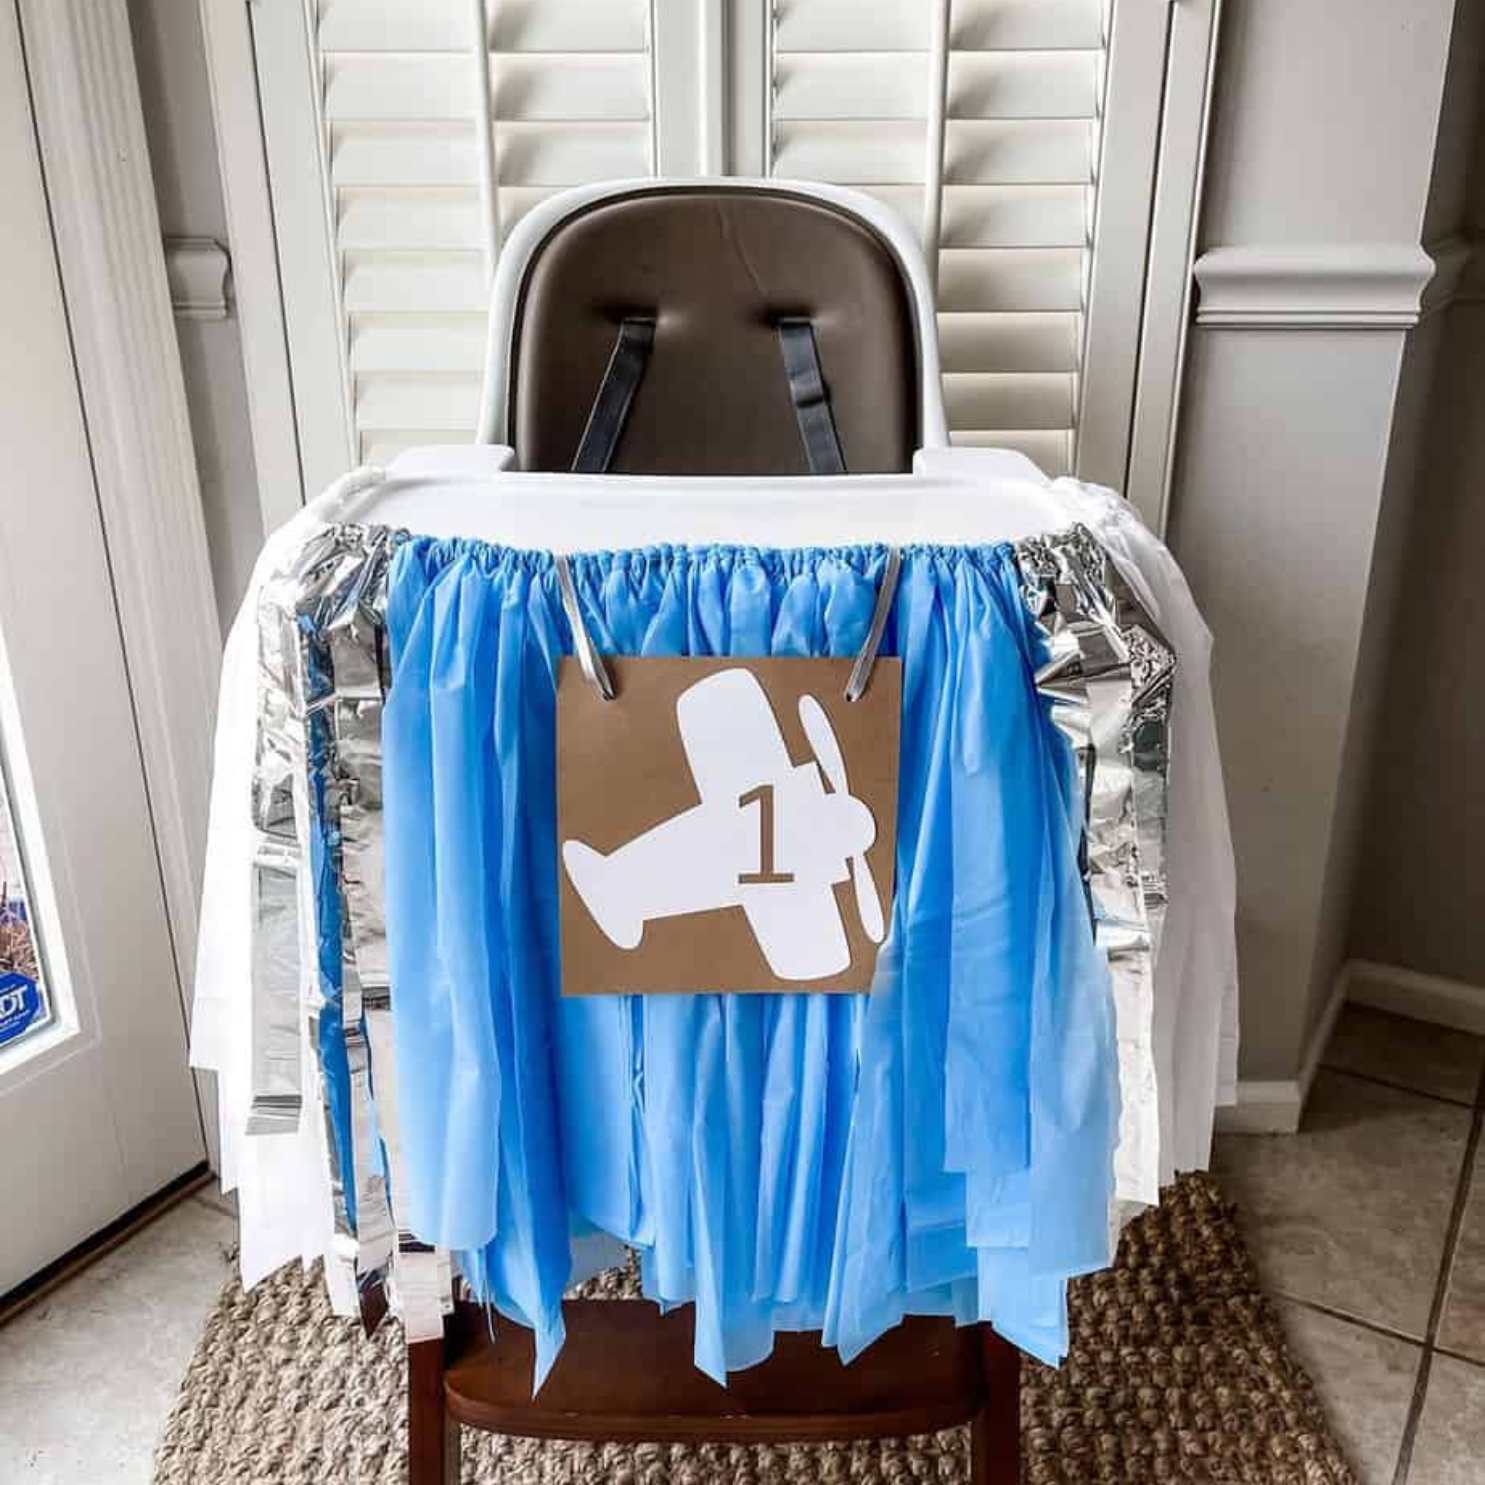
Pro-tip: Consider adding some decorative elements to the table. Balloons, flowers, or even just a few strategically placed props can really elevate your display.
You Did It! Now Go Forth and Banner-ize!
Congratulations! You've conquered the banner-tablecloth challenge. Now go forth and spread your message to the world! Remember to have fun, be creative, and don't be afraid to experiment. And if all else fails, just blame the tablecloth. It's always the tablecloth's fault.
Remember, a well-placed banner can be the difference between blending in and standing out. So, get out there and make a statement! You got this!