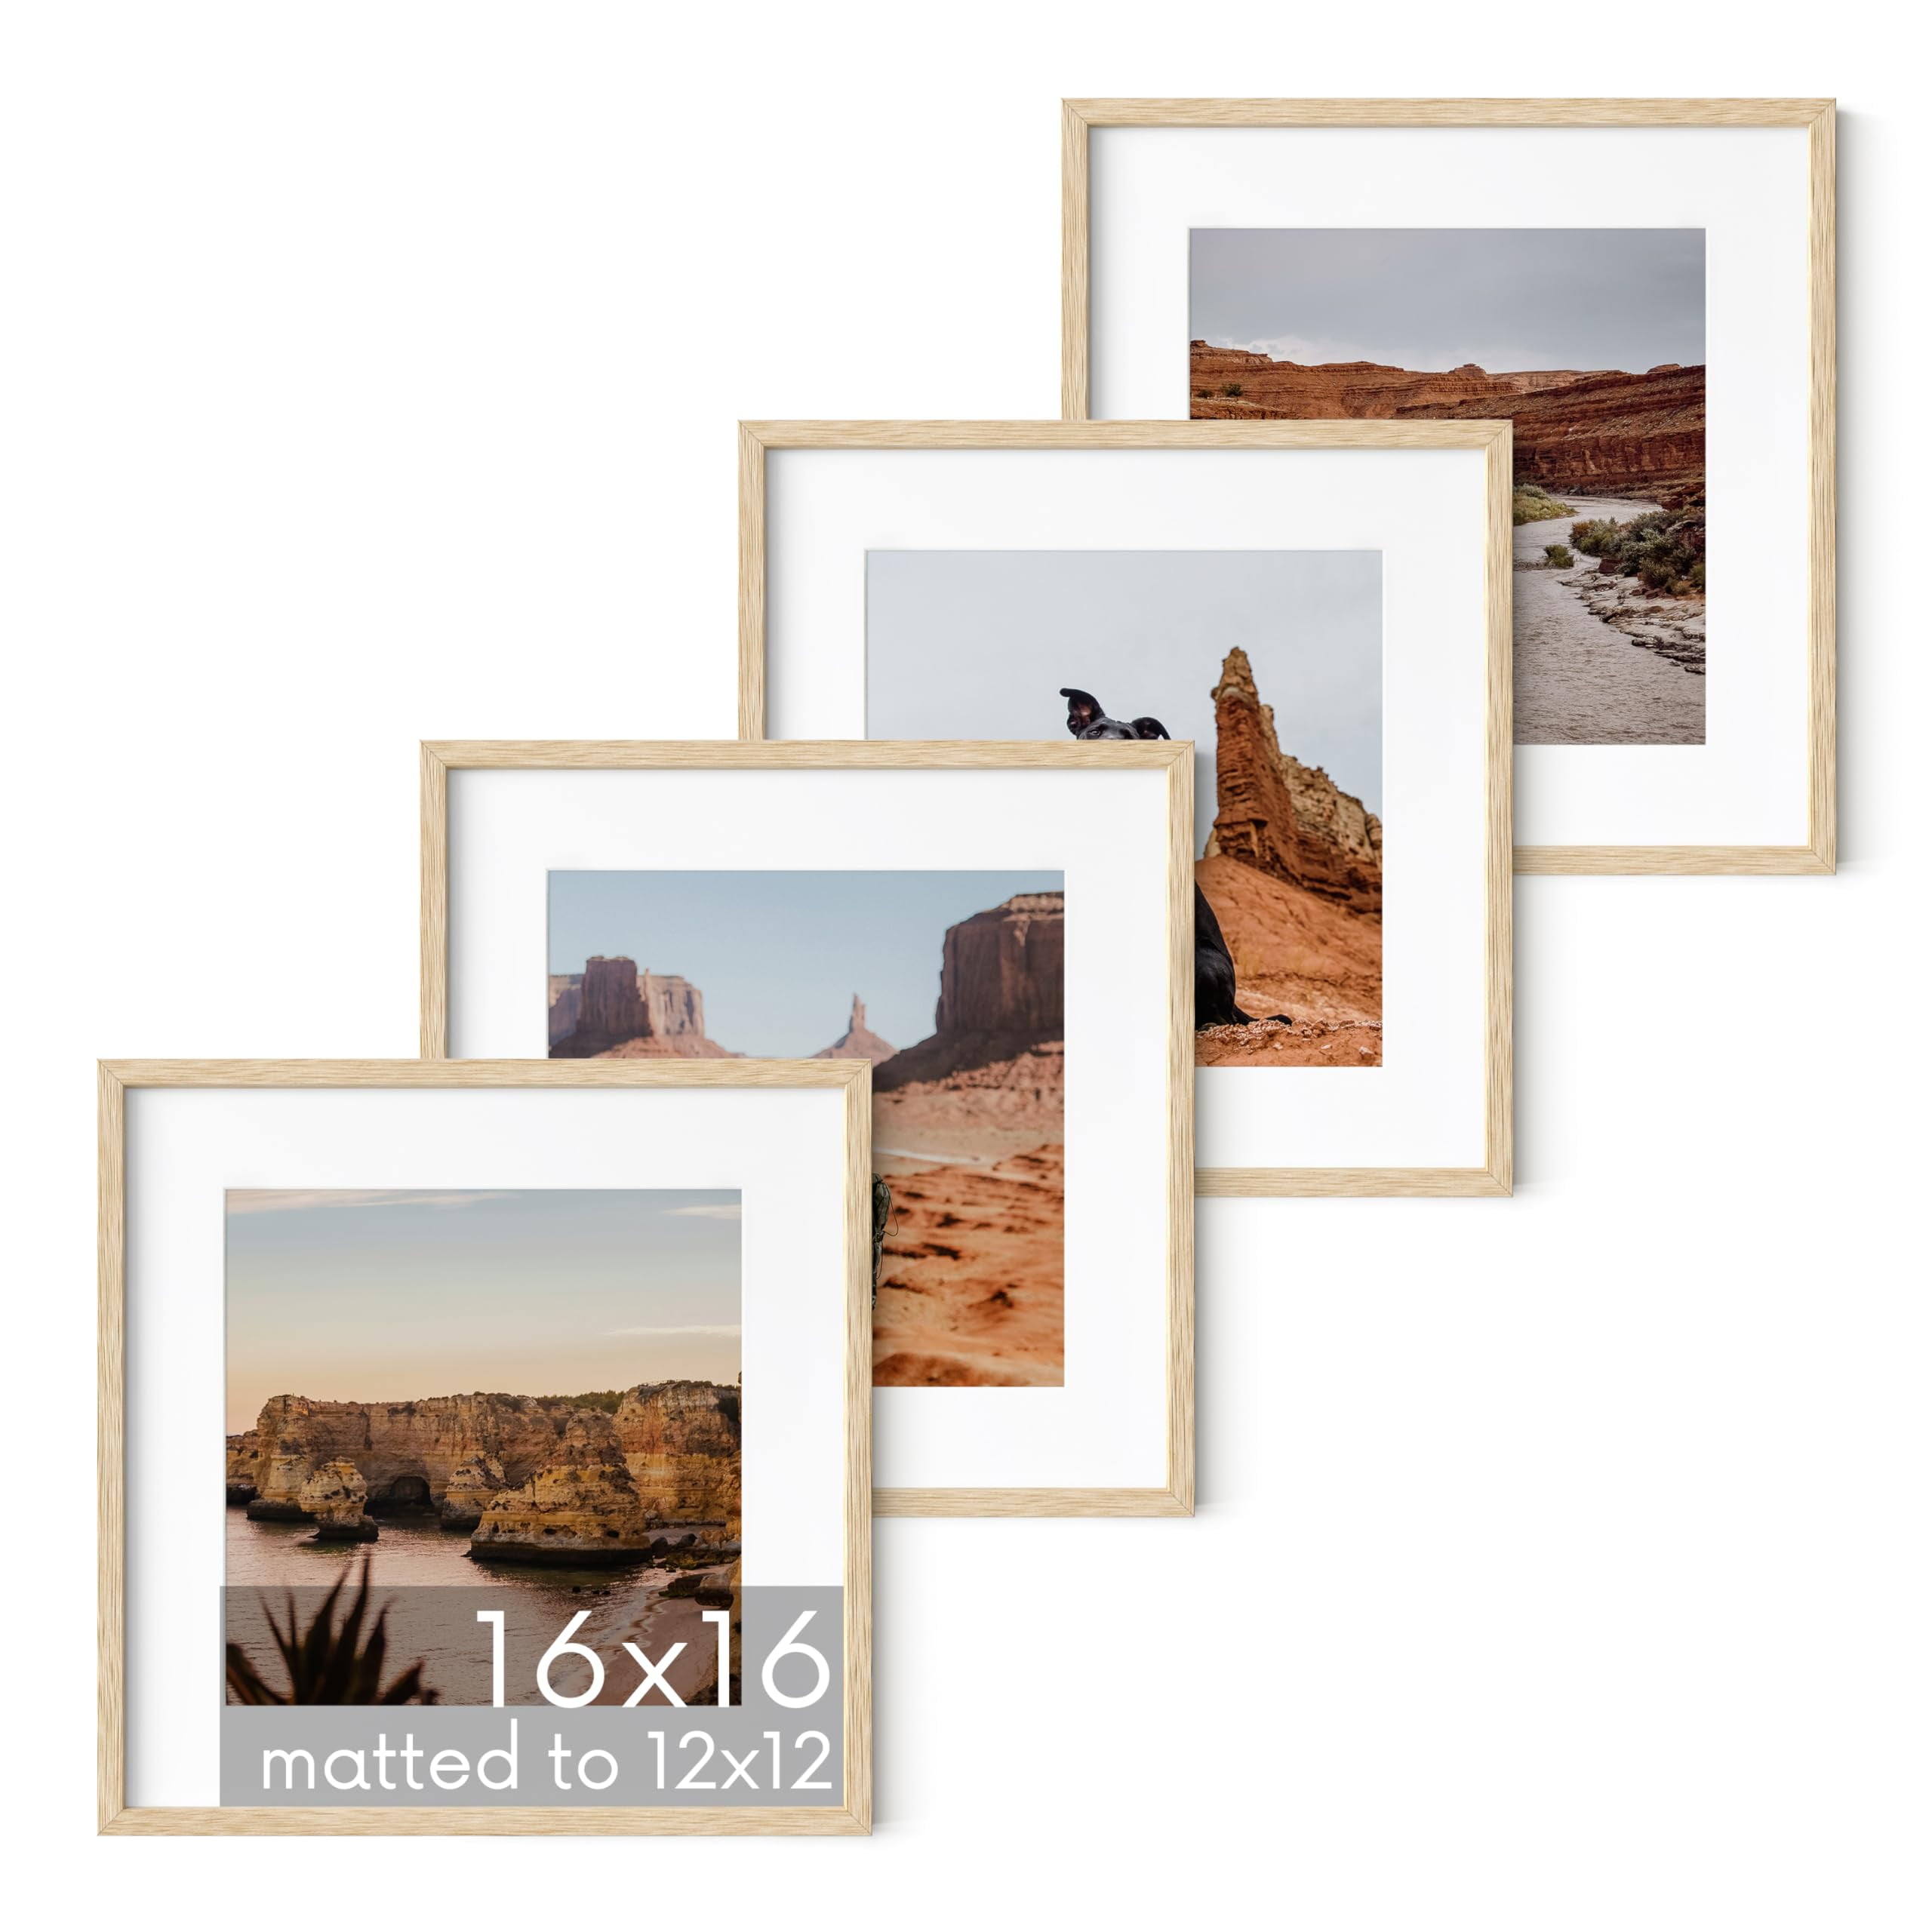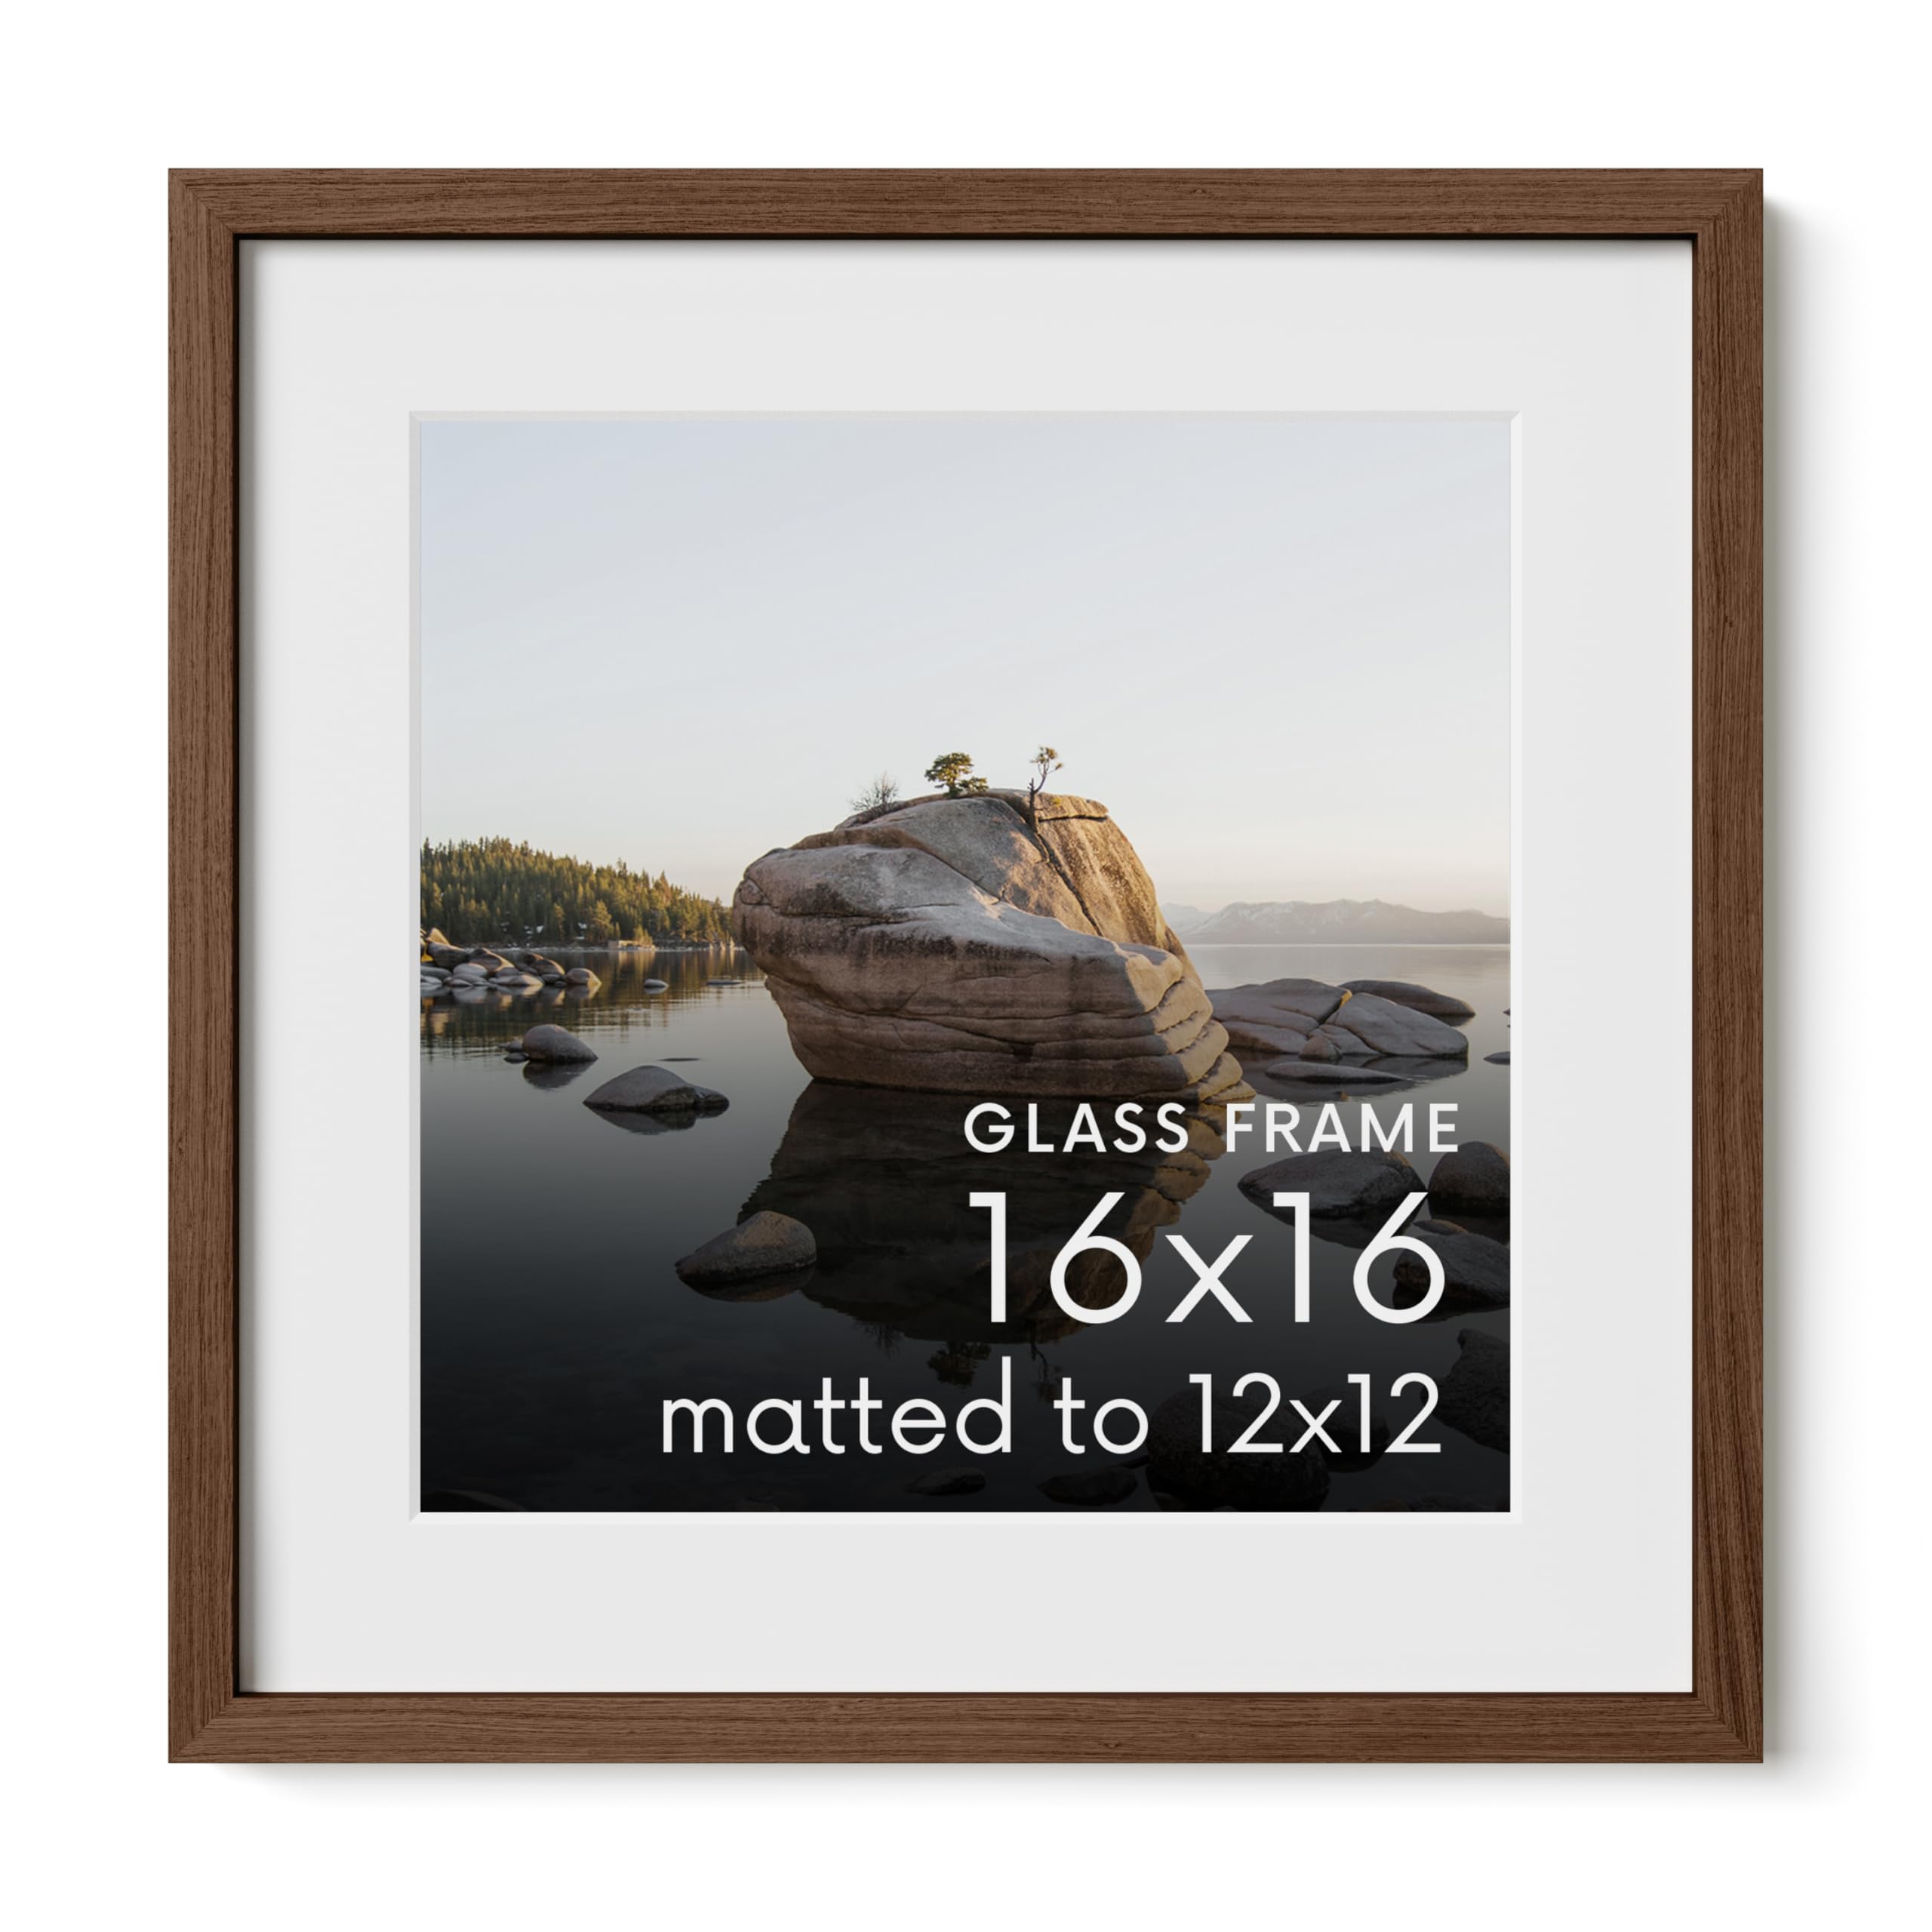
Alright, gather 'round, folks! Let's talk about framing. Specifically, that age-old conundrum: the 16x16 frame, the 12x12 photo, and the mat – the unsung hero bridging that gap of… uh… empty space.
Think of it like this: you’ve got this amazing 12x12 photo. Maybe it's your cat dressed as a tiny pirate. Maybe it's a landscape so breathtaking it makes grown men weep (probably from pollen allergies, but let’s go with breathtaking!). Whatever it is, it deserves better than being taped to the fridge with a novelty magnet shaped like a banana.
The Frame-tastic Problem
Now, you find this gorgeous 16x16 frame. It's practically screaming "Artisan!" It's whispering "Sophistication!" It's probably charging you extra just for its sheer elegance. The problem? Your photo looks like it’s swimming in an Olympic-sized pool of cardboard. You need a life raft… I mean, a mat!
Why not just get a 12x12 frame, you ask? Well, because fate is a cruel mistress, and the 16x16 frame was clearly on sale. Or, you know, maybe you just really liked the look of it. Besides, think of it as an investment. You'll have a 16x16 frame ready for that eventual 16x16 masterpiece you’re destined to create. Probably another cat pirate photo, let's be real.
The Mat: More Than Just Cardboard
This is where the mat comes in. It's not just a piece of cardboard; it's a transformative agent. It’s the Gandalf of the framing world. It takes your slightly-lost photo and gives it presence, gravitas, and a fighting chance against the vast emptiness of the larger frame.
A mat serves several crucial purposes:
- It keeps your photo from directly touching the glass. Condensation? Ew. Mold? Double ew. The mat is your photo's bodyguard against the horrors of moisture-related decay.
- It draws the eye to the image. A good mat creates a visual border that highlights the colors and details of your photo. Think of it as a spotlight operator for your miniature masterpiece.
- It just looks darn good! Let's be honest, a well-chosen mat can elevate a photo from "meh" to "magnificent!" It’s like adding the perfect accessory to an outfit.
Mat-hematics (Don't Panic!)
So, how do we make this magic happen? Let’s do some very basic math. Don’t worry, no one will ask you to show your work (unless your cat pirate photo wins a prestigious award, then expect scrutiny).
You have a 16x16 frame and a 12x12 photo. That means you have a 4-inch difference in each dimension (16 - 12 = 4). Now, you want that difference to be evenly distributed around the photo. So, divide that 4 inches by 2: 4 / 2 = 2. This means your mat needs a 2-inch border on all sides. Ta-da! You're practically an engineer now.
Technically, the "window" you cut out of the mat to show the photo needs to be slightly smaller than 12x12. A quarter of an inch smaller on each side usually does the trick (so 11.75 x 11.75 inches). This ensures the mat actually *holds* the photo in place, preventing it from doing the shimmy inside the frame and causing you endless anxiety.
Choosing the Right Mat: A Few Pro-Tips
Okay, so you know you need a mat. Now, the fun begins! Here are a few tips to guide you through the mat-tastic choices:
- Color: Generally, white or off-white mats are a safe bet. They're neutral and won't clash with most photos. But don't be afraid to experiment! A colored mat can really make a photo pop, just make sure the color complements the image.
- Thickness: Thicker mats (4-ply) look more substantial and provide better protection. They're also better at hiding any imperfections in your cutting skills (we've all been there).
- Material: Acid-free mats are essential for preserving your photos for the long haul. You don't want your cat pirate photo to fade into oblivion due to acidic cardboard!
Cutting Your Own Mat: The DIY Adventure (Optional)
Feeling adventurous? You can cut your own mat! It's a surprisingly satisfying process (and cheaper than having it professionally done). You'll need a mat cutter (they're not as scary as they sound), a ruler, a pencil, and a healthy dose of patience. There are tons of tutorials online, just search for "mat cutting tutorial" and prepare to enter the world of precise angles and potentially wonky corners.
Or, you know, you could just take it to a professional framer. They'll do it perfectly, and you can spend your time doing something more important, like training your cat to be an even better pirate.
The Grand Finale: Framing Your Masterpiece
Once you have your mat, it's time to assemble everything! Place your photo behind the mat, secure it with some acid-free tape (again, preservation is key!), and then carefully insert it into the frame. Step back, admire your handiwork, and bask in the glory of a perfectly framed photo. You did it! You conquered the frame-to-photo size disparity. Now, go forth and spread the joy of framed cat pirates (or breathtaking landscapes, whatever floats your boat!).