6010 Welding Rod Amperage Chart

The Secret Life of the 6010: More Than Just Sparks
Imagine a world built on fire and iron, a place where strength meets precision. You might picture huge machines or towering skyscrapers, but what about the unsung heroes behind the scenes? Today, we’re peeking into the fascinating world of welding, specifically at a humble guide that holds surprising power: the 6010 Welding Rod Amperage Chart.
Now, before your eyes glaze over at the word "chart," let me assure you, this isn't about numbers on a page. This is about stories, grit, and the delicate dance between a welder and their metal. It’s about finding that perfect sweet spot, that magical hum that turns raw materials into something solid and lasting.
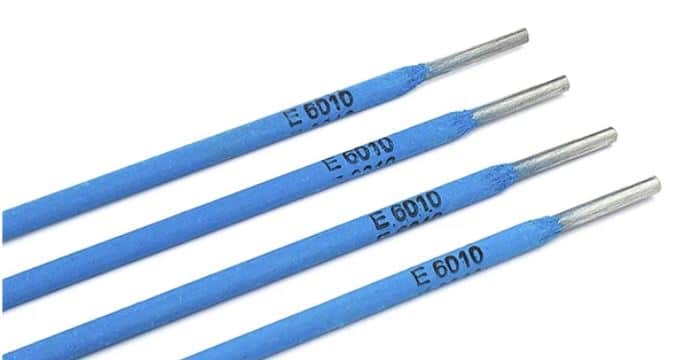
Meet the Workhorse: The Legendary 6010 Rod
Every welder knows the 6010 welding rod. It’s not flashy, it’s not fancy, but it’s the rugged, reliable friend you call when things get tough. This rod is famous for its ability to "dig deep," cutting through rust and grime like a champion.
Must Read
Think of it as the superhero that thrives on challenging terrain. When you’re faced with dirty metal or need a strong, foundational weld, the 6010 steps up to the plate. It's the backbone of countless structures and repairs, a true workhorse in every sense of the word.
From rusty farm equipment that needs to get back in the field to massive pipeline repairs that keep our world running, the 6010 is there. It’s a testament to raw power and unwavering reliability, a quiet giant working behind the scenes.
The Chart: A Welder's Whispering Guide
So, where does our mysterious amperage chart come in? Well, even the strongest superhero needs a guide, and for the 6010, this chart is its compass. It doesn't boss you around; it simply whispers suggestions, helping you find the ideal electrical current for your weld.
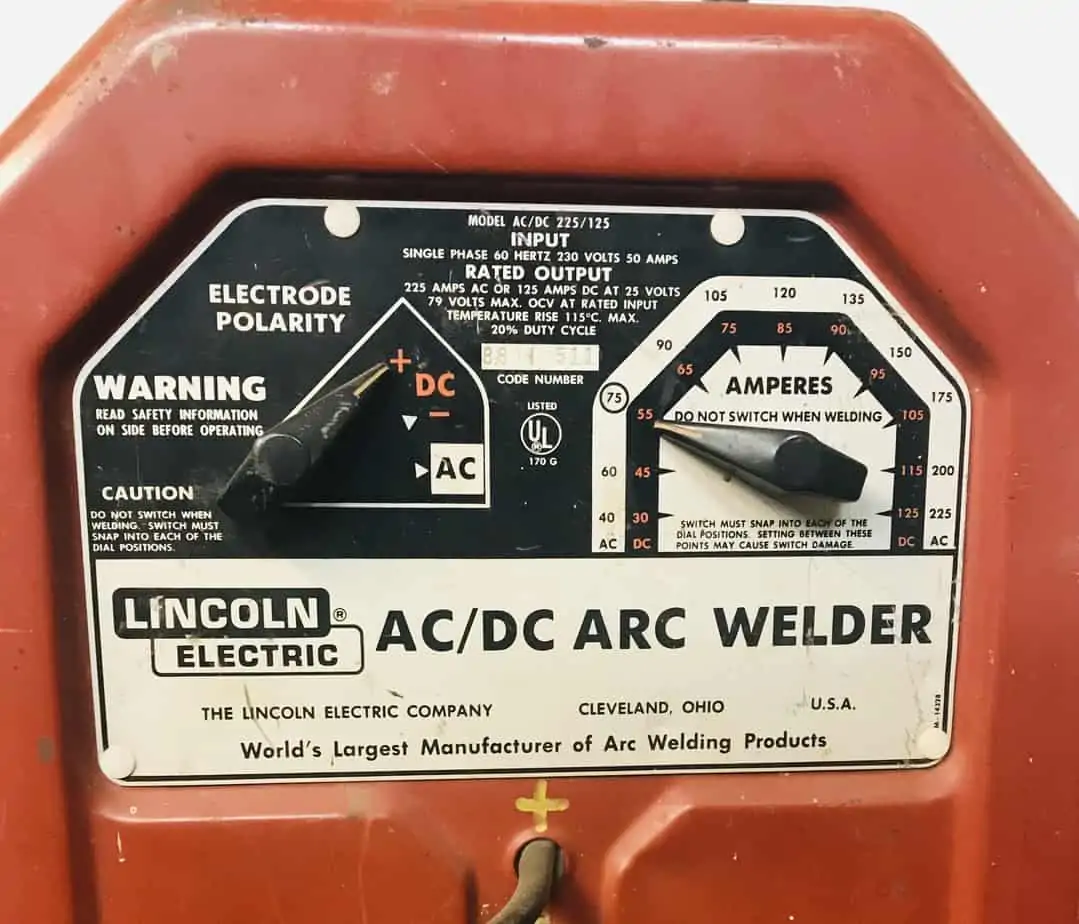
Amperage, in simple terms, is like the heat setting on your oven for baking a perfect cake. Too low, and your weld won’t penetrate, leaving a weak, superficial bond. Too high, and you risk burning through the metal, creating a hole instead of a connection.
The chart offers a range of amperes based on the size of your rod. It's a starting point, a friendly suggestion to get you in the ballpark. But like a seasoned chef, a good welder learns to adjust, to feel the metal, and to trust their gut.
"The chart tells you where to start, but the metal tells you where to finish."
Finding the Goldilocks Zone: A Humorous Journey
This is where the fun, and sometimes the frustration, begins. Imagine a welder, rod in hand, staring at the metal. They set the machine based on the chart, take a deep breath, and strike an arc. What happens next is often a hilarious lesson in trial and error.
If the amperage is too low, the rod might stick to the metal, refusing to melt properly. It's like trying to draw with a crayon that just won’t mark the paper. The welder might groan, pull the rod free, and crank up the dial a bit.
Then, if it’s too high, sparks might fly like a Fourth of July celebration, spattering molten metal everywhere. The weld puddle becomes thin and watery, threatening to burn right through. It’s an almost comical struggle against too much power, like trying to sip from a firehose.
But then, there’s that moment. The Goldilocks Zone. The amperage is just right. The arc sizzles with a satisfying hum, the metal melts into a smooth, controlled puddle, and the weld beads beautifully. A smile spreads across the welder’s face – success!
Tales from the Workshop Floor: The Chart's Real-Life Drama
The amperage chart isn't just theory; it’s at the heart of countless real-life scenarios. Think of a farmer, miles from town, with a crucial piece of machinery broken right before harvest. They grab their trusty welder and a 6010 rod.

Consulting the worn, grease-stained chart taped inside their welding machine, they dial in the setting. With a focused gaze, they lay down a strong, penetrating weld, bringing the invaluable equipment back to life. That chart, seemingly so simple, just saved the day.
Or consider the apprentice welder, eyes wide with a mix of fear and excitement. They’ve been told about the 6010’s "keyhole" technique – watching the molten metal dig in. But achieving that perfect balance of heat and speed is tricky.
They consult the chart, try a setting, and watch the spatter fly. Adjust, try again, and see the rod stick. Finally, after several attempts, guided by the chart and a patient mentor, they see it—the beautiful, controlled dig. It’s a moment of profound personal victory, all thanks to a few numbers on a page.
Even the most seasoned veterans, who can often "feel" the right amperage, still glance at the chart. It's a humble nod to the fundamentals, a respect for the science behind their art. It’s a reminder that even intuition is built upon a solid foundation of knowledge.
More Than Just Numbers: Building Our World, One Weld at a Time
The 6010 Welding Rod Amperage Chart might seem like a small, insignificant detail in the grand scheme of things. But when you look closer, it represents so much more. It's about precision in a demanding craft, about transforming raw power into controlled creation.
It’s about the bridges we drive over, the pipes that carry our water, the cars we ride in, and even the sturdy backyard fences that keep our pets safe. Every single one of these relies on strong welds, and many of those welds begin with a 6010 rod set to the right amperage.
Next time you see a welder at work, or even just a piece of metal joined to another, remember the silent wisdom of that chart. It’s not just a collection of numbers; it’s a tiny instruction manual for building our world, one strong, perfectly melted connection at a time.
It’s a surprising thought, isn't it? That something so seemingly technical can be at the heart of so many heartwarming repairs and incredible constructions. The 6010 and its humble chart are true, unsung heroes of our modern age.